


Creating custom OS images and publishing them is very easy on AWS or VMWare — you just create an AMI or OVA respectively from a VM instance. Once published, anyone can use these images for creating instances in the respective cloud. It takes a few minutes and you have a new custom image in ‘ready to use’ state.
But the same is not the case on Azure! When you try to create and publish images on Azure, depending on the type of image, it may take a few minutes to a few days to make it publicly available. Unlike AWS and VMware, Azure has different types of OS images, and any one can be used to create instances but with some restrictions; for example, some images can not be shared publicly, and some can be shared only in a given subscription.
The different types of images available on Azure are:
- Marketplace images,
- VHD Images,
- Managed images, and
- Shared Image Gallery.
We will explore each image type one by one.
Marketplace images
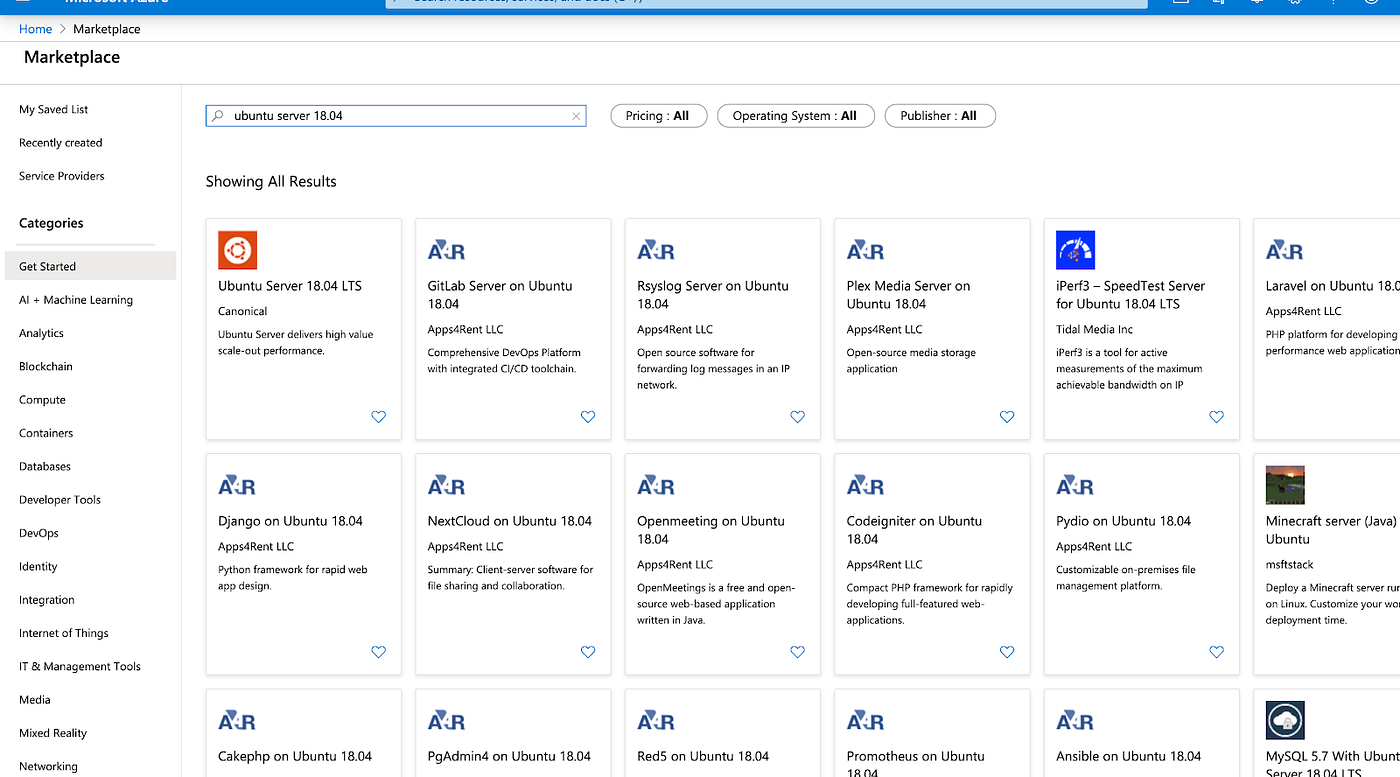
Marketplace images are publicly available and anyone can use them to create VM instances. One can create a Marketplace image on Azure if you want to publish and promote your service/applications and reach as many users as possible. To create a Marketplace image, one should register as an Azure partner. The requirements to become an Azure partner can be found here. After creating the Marketplace Image, publishing the image will take a few days after it passes a certification process. The timeline for each phase can be seen here.
You should be aware of several restrictions while creating Marketplace images. These images are maintained by Microsoft, meaning they will be updated with the latest patches available for the OS. It is possible that some of the applications/services may stop working with such an update.
Below is a screenshot of Azure Marketplace from the Azure Portal:
VHD Images
VHD stands for Virtual Hard Disks, which stores OS and application data disks of a VM. VHD images can be created by various tools like Packer and MDT, etc, by spinning up a VM and running these tools to create a VHD file out of it. VHD images should be fixed size and can be expanded dynamically.
Once VHD images are created and if we want to create a VM from it, we should upload the VHD file to Azure. Once uploaded, we’ll get a blob URL from Azure cloud. This blob URL can be used as a source VHD image to create a VM. Upon creation of the VM, an OS disk will be created by copying from the VHD image and attaching that disk to the VM to boot up with the OS present in it.
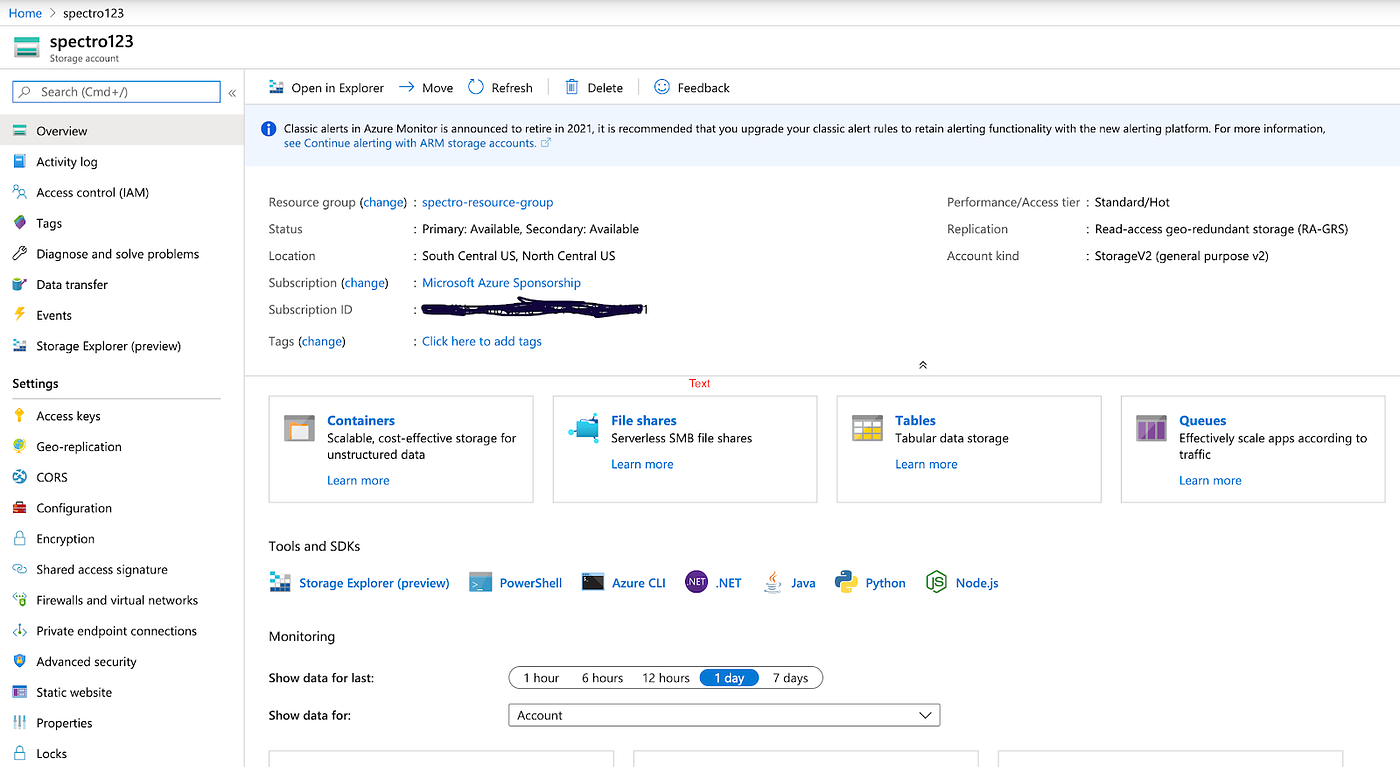
VHD images or Image Blobs will be present under the Storage Account, and the Storage Account would be associated with a Resource Group.
Take a look at the Storage Account in the screenshot; you can find the image blob present under Containers:
We can make VHD images publicly available by changing the permissions of Containers present under the Storage Account. See attached snapshots for the same.
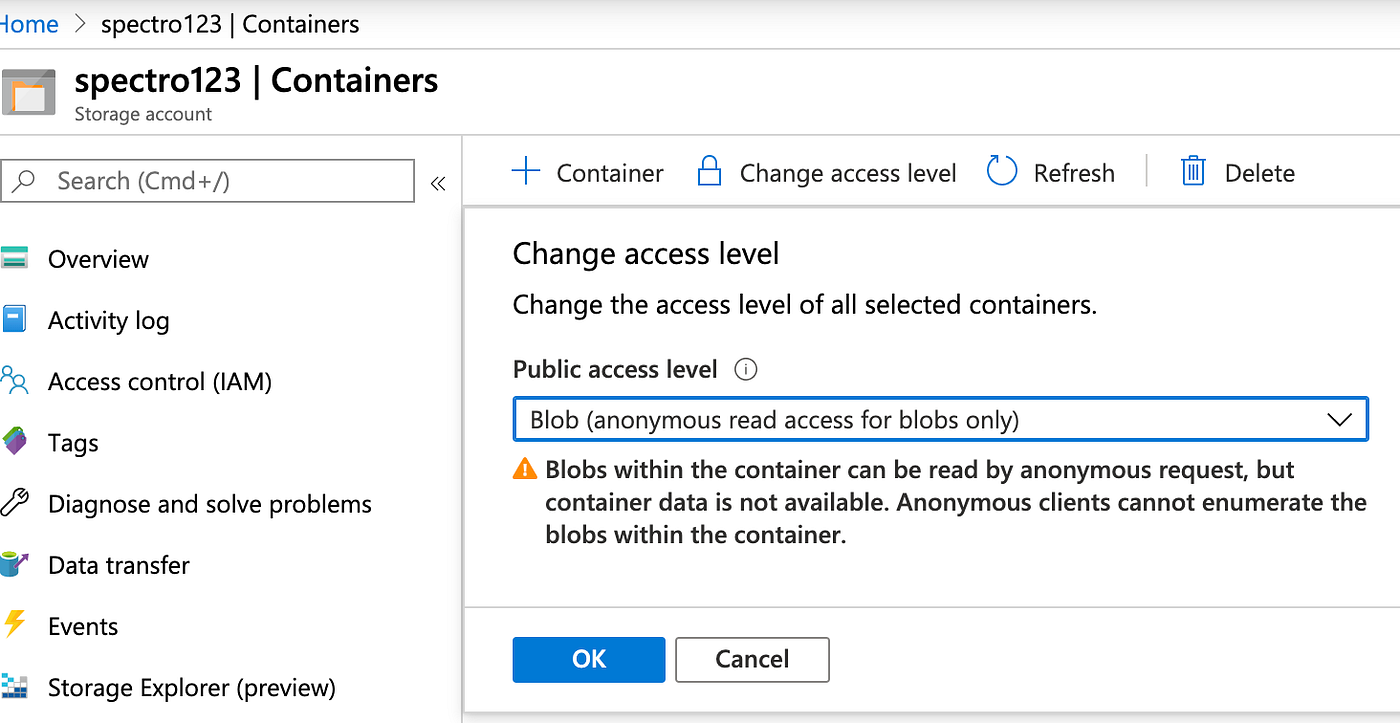
After changing the container’s permissions, the VHD image blob would be accessible publicly, and anyone can copy this blob and create a VM. To create multiple VMs from the same source, one can create a Managed Image from this VHD.
Managed Image
If you have a requirement to create multiple VMs from the same source image, you should create a Managed image from a VHD or VM, and then use it to create as many VMs as needed from the same source Managed image. A Managed image is a resource on Azure that can be created from a generalized VM or VHD image. We can not create multiple VMs directly from a single VHD image, because the VHD file is directly associated with the OS disk of the VM. (Of course you could make multiple copies of the VHD, and create one VM from each one of them, but that is time consuming and not easy to manage, so is not recommended for production use cases.)
We can create a Managed image from a VHD using the below Azure CLI command:
az image create -g MyResourceGroup -n image1 — os-type Linux — source
blob URL Example: https://spectro123.blob.core.windows.net/system/Microsoft.Compute/Images/spectro123/testvhdimage-osDisk.3b1ccc8c-30ee-478e-b7a3-da428c4d3822.vhd
Shared Image Gallery
Shared Image Gallery is a service provided by Azure to store images and share these images within an organization. Using a Shared Image gallery we can create multiple replicas of a single image in the same or different regions. We can also copy an existing image to different regions. Gallery also supports versioning, which we can provide based on updates/patches applied in Images. Shared Image Gallery can be identified using Publisher, Offer, and SKU which is the same as Marketplace images.
To learn more about Shared Image Gallery hit this link.
Summary:
Now you have a fair idea about each image type in Azure. Now let’s understand how to choose the specific image type for your needs.
1. When you have to use custom images within your organization:
If you want a one to one mapping between VM and Images, you should use a VHD image directly. If you need to create multiple VM Instances from a single source image (same as an AMI in AWS EC2), then you can either use a Managed image or Shared Image Gallery, based on the update/patches/upgrade functionality you want to support.
2. When you want to make custom images available to all:
In such a case, you have two options — either create and publish a Marketplace image or create a VHD image. If you want to promote your apps or service you should create a Marketplace image.
If you don’t need as much in the way of promotion, VHD images can be shared publicly by changing the permissions of Containers under the Storage Account, which stores this VHD as an Image Blob. This process takes only a few minutes to copy VHD into the user’s subscription account and then they can create a Managed Image or Shared Image Gallery or VM as per their need.
Hopefully this helps you understand what image types to use in Azure!
.webp)


.svg)

.webp)
